Friday, 27 February 2015

Continuity in the Industry

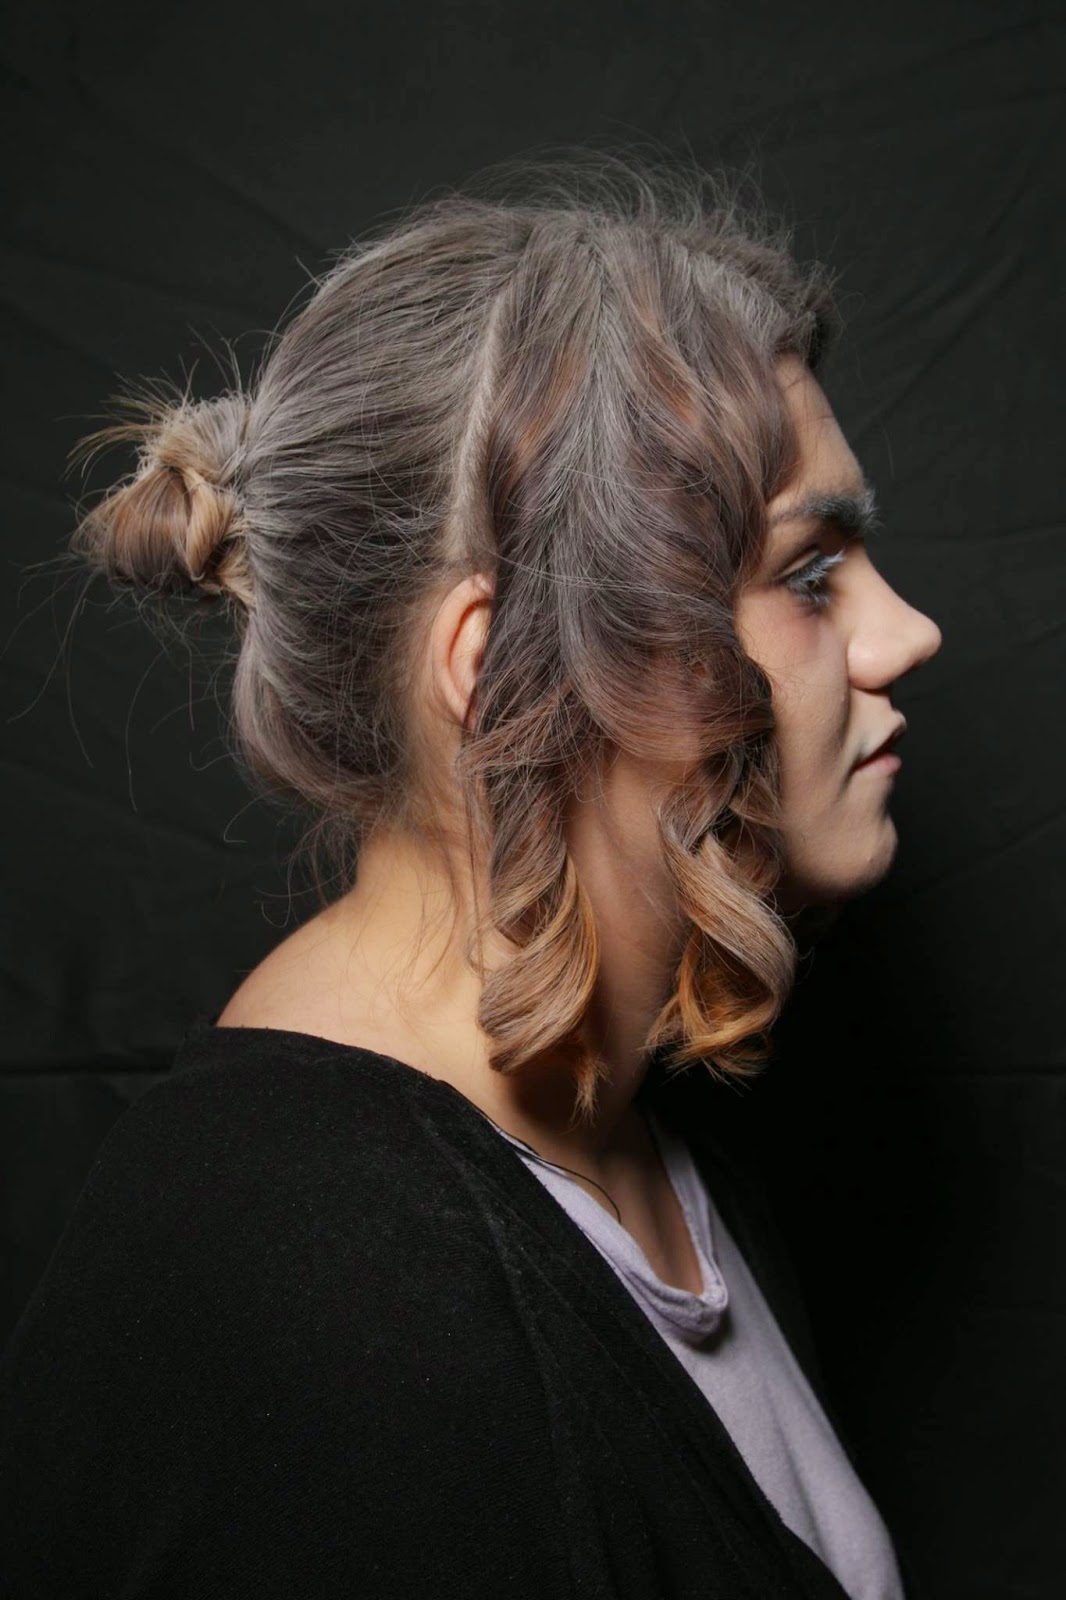
As a makeup artist you are expected to create make-ups and hairstyles to meet a production requirements, oversee make-up and hair continuity during filming, work to the Make-up and Hair Designer’s brief. Continuity in the makeup department is important to keeping the look of the actor in the scene consistent when it is shot over several days. As the makeup artist, it is your job to provide the exact same look every time that scene is shot regardless of the day, time, location or conditions when you are working with that specific actor. From doing research I found that a lot of onset makeup artists use face charts and list the products they have used, what shade and how much they have used to help with continuity.
I also did some research on continuity in the film industry; a script supervisor, also known as the continuity person, keeps track of what parts of the script have been filmed and makes notes of any deviations between what was actually filmed and what appeared in the script. They make notes on every shot, and keep track of props, blocking, and other details to ensure continuity from shot to shot and scene to scene. The script supervisor's notes are given to the editor to expedite the editing process. The script supervisor works very closely with the director on set.
On a set there is usually a Make-up supervisor, the make-up supervisor is a normally reports to the key makeup artist to assist in running the makeup department. Make-up supervisors typically handle production matters and generally serve the needs of senior artists. Makeup supervisors don’t very often do makeup themselves. Their duties can include keeping a record of makeup continuity, handing the scheduling of makeup teams and providing for the general needs of the makeup department. They are expected to be a connection between the makeup department and the rest of the production departments, making sure that makeup supplies, production assistants or electricians are on hand when needed.

 Below are some mistakes that have been made in the film industry:


Image links:
https://www.google.co.uk/search?q=continuity+mistakes+in+movies&espv=2&biw=1366&bih=667&source=lnms&tbm=isch&sa=X&ei=GBAgVcvvFaXa7gbIwYGACw&sqi=2&ved=0CAcQ_AUoAg#imgdii=_&imgrc=GDW67s0FXmswtM%253A%3BkdvPuQ5a-HapTM%3Bhttp%253A%252F%252Fcdn.emgn.com%252Fwp-content%252Fuploads%252F2014%252F01%252Fmovie_mistakes_05.jpg%3Bhttp%253A%252F%252Fwww.nairaland.com%252F1971120%252Fpictures-19-hilarious-movie-continuity%3B500%3B500 


Sunday, 22 February 2015

Death Masks

In Sharon’s lesson we learnt about death masks, I learnt that a death mask is a wax or plaster cast made of a person’s face following death. Death masks may be mementos of the dead, or be used for creation of portraits. A famous death mask in particular is "the unknown woman of the Seine", it was of an unidentified young woman whose death mask became a popular fixture on the walls of artists' homes after 1900. According to a story the women was pulled out of the Seine River in Paris around the late 1880’s. A pathologist at the Paris morgue was said to be so taken by her beauty that he had a mould of wax plaster cast of her face. The face of the unknown woman was also used for the head of the first aid mannequin. It was created by Peter Safar and Asmund Laerdal in 1958 and was used starting in 1960 in several CPR courses. Then leading it to be called "the most kissed face" of all time. 
http://mentalfloss.com/article/22871/creepiest-thing-ever-linconnue-de-la-seine


After looking and learning about these Death Masks we were given the opportunity to try them out ourselves. Below are the images from my 'Death Mask'.


Saturday, 21 February 2015

Miss Havisham Assessment Part 1


I am pleased with how my first assessment went, I wasn’t as worried about this part of the assessment as this wasn’t the hard part. I look forward to creating this look again in the second part of the assessment. 

Friday, 20 February 2015

High Definition Broadcasting

HDTV (high definition television) is a television display technology that provides picture quality similar to 35 mm. movies with sound quality similar to that of today's compact disc. Some television stations have begun transmitting HDTV broadcasts to users on a limited number of channels. HDTV generally uses digital rather than analog signal transmission. 
High definition television (HDTV) is basically an arbitrary term that applies to any digital television production, transmission, or reception technology with a scanning rate that exceeds the 525 lines of the present U.S. NTSC standard or the 625 lines of the PAL or SECAM standards.
HD quality would make it more visible to see things like the pores on someone’s skin, therefore the makeup would need to be done in more detail, using products such as a primer. HD will most probably show a person’s true skin tone, bone structure and even hairs so the makeup/ hair artist would need to going into further detail. When applying something like a foundation the makeup artist would have to be careful to not overly apply it, and make sure it just looks like part of the skin not caked on. Things that would be more visible on a HD camera would include blemishes, heavily applied base, dry skin and overly powdered skin.

A hairstylist would have to make sure certain details like hair grips and bands are covered as well as anything used to keep the hair in place, you can often use the hair to cover them so this would probably be easier than makeup. As more and more films and TV is shot in HD the hair/ makeup artists will need to be aware that sometimes less is more. Makeup/ hair artist need to be aware of the rise of shooting in HD, therefore able to keep up with other artists in creating the best looks for this high quality. 
(http://www.creativeartistryfx.com/high_resolution_media.pdf)

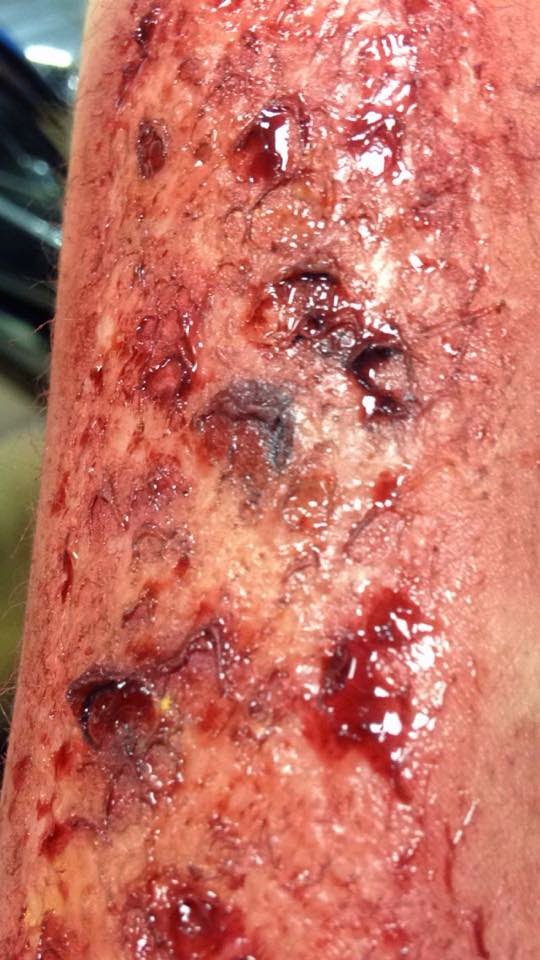
Burns

In great expectations Miss Havisham sets herself on fire, therefore in lesson we learnt how to create a burn on skin using prosthetics. To do this I used:
-Gelatine (can even use cooking gelatine)
-Palette Knife
-Supra Colours
-Illamasqua Powder
-Small Brush
-Glycerine
-Pus (optional)
1.       Firstly you need to heat the gelatine, you can do this by placing it in the microwave testing it every 10 seconds
2.       Once it is melted, making sure that it’s not too hot, apply to the skin using a palette knife. Making sure to blend out the edges to make it as realistic as possible.
3.       The start patting the gelatine with the palette knife to give appearance that the skin is coming away.
4.       Dry with the hair dryer, making sure it’s on the cool setting
5.       Powder the area using Illamasqua powder
6.       Add colours using supra palette, using darker colours to create depth to the burn
You can also add pus and fake blood. 


Consumption and Deathliness

The Victorians loved everything gothic, the idea that the dead could come back to be terrifying. They also loved telling ghost stories. The popularity of ghost stories was linked to economic changes. The industrial revolution led people to migrate from rural villages into towns and cities, and created a new middle class. They moved into houses that often had servants, many taken on around October or November, when the nights were drawing in early – and new staff found themselves "in a completely foreign house, seeing things everywhere, jumping at every creak". Servants were expected to be seen and not heard and probably not even seen. If you go to a stately home you see the concealed doorways and servant's corridors. You would actually have people popping in and out without you really knowing they were there, which would be quite a strange experience, leading them to think there were ghosts.
(http://www.theguardian.com/books/2013/dec/23/ghost-stories-victorians-spookily-good) 

Another factor is also that the only night lighting they had were lamps, and the carbon monoxide they released could lead to hallucinations. Even on Christmas Eve it was traditional to sit by the fire and tell a ghost story. Ghost stories were increased by the media, with the release of the Charles Dickens' "A Christmas Carol" in 1843 helping to strengthen the phenomenon even further in the public awareness.
During this time infant mortality and childbirth was very low, most children would experience death of at least one sibling. Many of these children died due to malnutrition, diseases like small pox, TB and cholera. Cholera was the product of over population and slums by dirty water, typhoid fever and dysentery were also big during the period. A study showed that 60% of children in Manchester died industrial deaths because of long hours and bad working conditions.

The death of Prince Albert during this time also didn’t help. When he died Queen Victoria set out his clothes every morning for 40 years and wore nothing but black. In portraits there is often a picture of bust in the painting with Victoria and her children. Queen Victoria was a huge trend setter when she started to wear all black, her people followed, also the way she treated her children influenced the treatment of children during this time; she introduced children playing with toys, having a Christmas tree and putting up Christmas decorations. 

Image links:
https://www.google.co.uk/search?biw=1366&bih=623&noj=1&tbm=isch&sa=1&q=victorian+ghost+&oq=victorian+ghost+&gs_l=img.3..0l10.51806.61649.0.63363.28.18.5.4.5.0.264.2447.0j11j3.14.0.msedr...0...1c.1.64.img..7.21.2280.m-fFh7jID8U#imgdii=_&imgrc=yoWrQNxEoFsc2M%253A%3ByqJRQRQgwgNMwM%3Bhttp%253A%252F%252Fstatic.guim.co.uk%252Fsys-images%252FGuardian%252FPix%252Fpictures%252F2013%252F12%252F20%252F1387547922476%252FA-ghostly-19th-century-il-015.jpg%3Bhttp%253A%252F%252Fwww.theguardian.com%252Fbooks%252F2013%252Fdec%252F23%252Fghost-stories-victorians-spookily-good%3B2560%3B1536
 https://www.google.co.uk/search?q=portrait+of+queen+victoria&biw=1366&bih=623&noj=1&source=lnms&tbm=isch&sa=X&ei=2b8aVfzeM6iP7AavhYGwDQ&ved=0CAgQ_AUoAQ#imgdii=_&imgrc=rDJiYvWhIlEYoM%253A%3BKKk81rMYEb-32M%3Bhttp%253A%252F%252Fbohosojo.files.wordpress.com%252F2012%252F03%252Fqueen-victoria1.jpg%3Bhttps%253A%252F%252Fwww.pinterest.com%252Flostempress%252Fqueen-victorias-legacy%252F%3B5217%3B7297 


Saturday, 14 February 2015

Memento Mori

Memento mori is a Latin phrase meaning ‘remember you must die’. Memento Mori are objects to remember the death of a loved one, this could include hair worn in a locket, death masks, paintings, photography and tomb stones.
In 1839 photography was becoming very popular, this brought the rise of photographing the dead. Victorian ‘spirit’ photography focused on the mourner then has a picture of the dead person put in it to look creepy.
Jewellery was the most important element, hair may have been cut from the dead and then made into something and added to the jewellery. Victorians were not allowed to cry but could use these different objects to mourn the death of a loved one. They were said to be very suspicious and even buried the dead with bells in case they weren’t actually dead so they could ring it and be saved, because of this suspicion they also increased the time they buried someone to two weeks. Objects designed to remind the owner of the death of a loved one took several forms, locks of hair cut from the dead were arranged and worn in lockets, death masks were created and the images and symbols of death cropped up in all sorts of everyday paintings and sculptures. Photographs of dead relatives became an increasingly popular feature of family albums, often in a lifelike pose with a rosy colouring and even open eyes painted over eyelids.

After death relatives and friends of the deceased would go into mourning, taken up by Queen Victoria after the death of her husband Albert. Mourning dress was made up of whole outfits to inform people of your state of grief, with fabrics and colours changing over time to mark how long it had been since the death of the loved one. For the death of a close relative, mourning dress would be worn in for up to two and a half years. This meant that with high mortality rates, mourning dress would often be worn for much of people’s lives.


Wednesday, 11 February 2015

Practising Miss Havisham Final Design

In class we were given the opportunity to practise our Miss Havisham Designs on our models, these practises are very helpful as because this part of our assessment we were being marked on our continuity it was very important that I knew what my final design was and that I was able to complete it and then create the same look again. 


Tuesday, 10 February 2015

Miss Havisham Hair Design


Miss Havisham Final Facechart

I chose this as my final design because I felt that it represented the look I wanted to achieve the best, I wanted my character to have an aged look, also tired looking but I also wanted her to have some colour still left in her.
Products used for the Final Design:
Foundation: Illamasqua Skin base & Kyrolan Foundation palette in Alabaster
Concealer: Kyrolan camouflage palette in shades D1, D3, D6 and D8
For the aging lines: Kryolan bronzing sun and Agais, Ginger and anis, white pepper and caraway
Brows: Supra palette in white
Powder: Illamasqua loose powder
Contour: Bronzing sun, Bronzing Anais, anis and ginger
Lips, Illamasqua loose powder patted on creased lips then with LC003, 002 & Annatos

Miss Havisham Practice Facechart

I chose to not use this as my final design as I felt that it didn't have enough of the the aged look to it, I want my character to look as though she is much more worn.

Miss Havisham Face Chart


Above is a practice design for my Miss Havisham Assessment. I chose not to use this as my final design because I felt like it was too grey, I wanted my character to still have a bit of colour in her and felt that this design wasn't what I wanted. 

Monday, 9 February 2015

Miss Havisham ideas

When looking for inspiration for my Miss Havisham I design I looked at different portrayals of her and how she has been played. The mad, vengeful Miss Havisham, a wealthy women who lives in a rotting mansion and wears her old wedding dress every day of her life. Her life is defined by one single event: her being left at the altar on her wedding day, from then on she swore to herself that she would never let a man break her heart. While doing some research I found out some interesting facts; she stopped all the clocks in Satis House at twenty minutes to nine, the moment when she first learned that she had been left, and she wears only one shoe, because when she learned of the betrayal, she had not yet put on the other shoe.
Trying to move on Miss Havisham adopts Estella and raises her as a weapon to achieve her own revenge on men. Miss Havisham, Estella and the people in her life all suffer because of her need for revenge. Towards the end of the novel Miss Havisham is still unaware of how her actions have harmed Pip and Estella, but at the end she is redeemed when she finally realises all the heartbreak she has caused the young lovers. At this point Miss Havisham begs Pip for forgiveness, making us change our opinions on her, and have sympathy for her.

As this part of our assessment we were being marked on continuity it wanted to make sure that my design was easy enough to complete again and to the same standard. I tried out different stages of Miss Havisham’s life, from the beginning just after her wedding day where her makeup and hair are all intact but just slightly off. To when we meet her in the novel, with her hair a mess and everything around her decaying. Because we had learnt aging makeup in our technical classes I felt that this would be a good skill to show in my assessment, therefore I decided that my design would show Miss Havisham ages, grey and worn. 
(http://www.sparknotes.com/lit/greatex/canalysis.html) 

Saturday, 7 February 2015

The Young Victoria

An example of a film showing an early Victorian hairstyle I have chosen is the film ‘The young Victoria’. An obvious example it shows the hairstyles of Queen Victoria and her staff’s hairstyles in the early Victorian era. I really liked how simple but intricate some of the hairstyles in this film were. Some of my favourite included:

The film showed the early style of the middle parting, having plaits on each side and placed into a bun, also simple curls down the side. It showed different ways of having the simple bun, adding different hair accessories. 

Image links:
https://www.google.co.uk/search?q=young+queen+victoria&espv=2&biw=1517&bih=741&source=lnms&tbm=isch&sa=X&ei=FlPqVImuHIT6Up6DgyA&ved=0CAYQ_AUoAQ&dpr=0.9#tbm=isch&q=the+young+queen+victoria+film+hairstyles&imgdii=_


TV aging

As well as learning theatrical aging we also learnt about TV aging. TV aging is more precise and in more detail as the camera will capture every pore on the skin. In lesson to create this we used prosthetic latex, which is often used in the industry. In class we used 'Old Age Stipple' by Kryolan, to create wrinkles on the skin.
To create this you will need
-Kryolan Old Age Stipple
-White Sponge
-Barrier Cream
1.       Firstly apply the barrier cream to the area you are going to use the latex.
2.       Pour the latex into a bowl and using the sponge pat it into the skin, making sure that the skin is stretched out
3.       The latex take a long time to dry so using a hair dryer on a slow and cool setting dry the area you have applied the latex

4.       When you know the latex is dry release the skin and you will have a wrinkled aged affect. 


Miss Havisham Before and After

In one of our practical lessons we were asked to create a makeup like with two sides to it, each side of the face having to show a different stage in Miss Havisham’s life. On the left side I chose to do her makeup how I would think it would be on her wedding day, before she knew of her fiancĂ©es betrayal when it was intact. One the right showing her more aged and frail looking. I chose these two because I wanted to see the contrast in the two, we know that in the story she is deeply heart broken, because of this she has lost weight, had little sleep and is aging more and more. 

To create this look I used:
-Cleanser, toner and moisturiser
-Illamasqua Primer
-Kyrolan Foundation palette (alabaster)
-Illamasqua Skin base
-Illamasqua loose powder
-Kyrolan pink blush
-Kyrolan lip Palette LC002


Friday, 6 February 2015

Bruising, Cuts, Grazes and Scars

Another skill we learn in our technical lessons was bruising, cuts, grazes and scars. I also decided to so some research into the stages of bruising as they would all show different colours. You develop a bruise, when some type of trauma causes bleeding near the surface of your body without breaking the skin.
These are the 5 stages of bruising:
Red Bruises
When you first get a bruise, especially one near the surface of your skin it usually appears red. The colour comes from fresh blood leaking into your tissues. Fresh blood is bright red because it contains both iron and oxygen.
Blue Bruises
Within a few hours, blood that has leaked from your injured blood vessels loses the oxygen it was carrying. As this occurs, the blood becomes darker and your bruise begins to look more bluish or purple.
Purple Bruises
Typically, over one to three days the bruise becomes more intensely purple and may even appear black. This occurs as red blood cells break down and iron is released into the injured area.
Green Bruises
You’ll know your bruise is beginning to go away when you notice it turning green. You’re likely to first notice the transition from purple to green at the edges or centre of a bruise. The green colour is due to the presence of a haemoglobin breakdown product called biliverdin.
Yellow Bruises
Lastly, your green bruise will eventually turn yellow as it enters the final stage of healing. The yellow colour is from the final breakdown product of haemoglobin in your skin, a chemical called bilirubin. The yellow fades as your body clears away the last of the debris from the bleed, leaving you with bruise-free skin.

To complete a bruise, cut, graze or scar you will need the following:
-Kryolan SupraColours/Bruise Wheel
-Wax
-Liquid Latex
-Foundation Palette
-Hairdryer
-Wound Filler
-Fake Blood
-Stipple Sponge
-Collodium
-TuPlast
In lesson I then attempted a cut. Below are the steps of how I completed it:
1.       Get some wax apply to the skin making sure it’s warm (skin) and smooth over the skin making sure to blend out the edges to appear more realistic.
2.       Keep adding wax until you have built up a good amount and enough to create a deep wound
3.       Then using a palette knife make a slit down the middle or wherever you would like your cut to be
4.       After the making the cut apply liquid latex of sealer to the wound, and dry with a hair dryer, making sure that it’s on the cool setting.
5.       Then apply the latex to the edges and blend, making sure to work quickly as it dry’s fast
6.       Using the sharp end of the palette knife pick away some of the latex to make it more like a cut and have a grazed affect.
7.       You can then use the supra colours to add colour around the edges, using a sponge apply and blend
8.       Wound filler can be used in the cut and you can apply where you see it needs it, you can also add fake blood for a fresher wound look.
9.        Keep adding colour and texture using a stipple sponge to achieve a realistic looking cut.


To create a scar:
1.       Make sure the area you are going to use is clean
2.       Apply Tu-plast to area of skin
3.       Using the hair dryer dry the skin making sure that you are using the cool setting
4.       If you want any roughness you could use the sharp end of a palette knife or a pin
5.       Use any makeup products to get the look you want and apply fixer spray


Wednesday, 4 February 2015

Late Victorian Hairstyles

Women’s hair styles tended to mirror the lines of their gowns. As skirts were drawn back in the mid to late 1860s, so the hair was also drawn up and back to reveal the ears, for so long covered, but kept flat on top, with curls or a small twist at the back of the head replicating the back interest on the dress. With the first movements in the early 1870s the hair was lifted higher, sloping upward from forehead, then flowing to the shoulders in twisted plaits or curls, or both, or occasionally worn in a chignon.

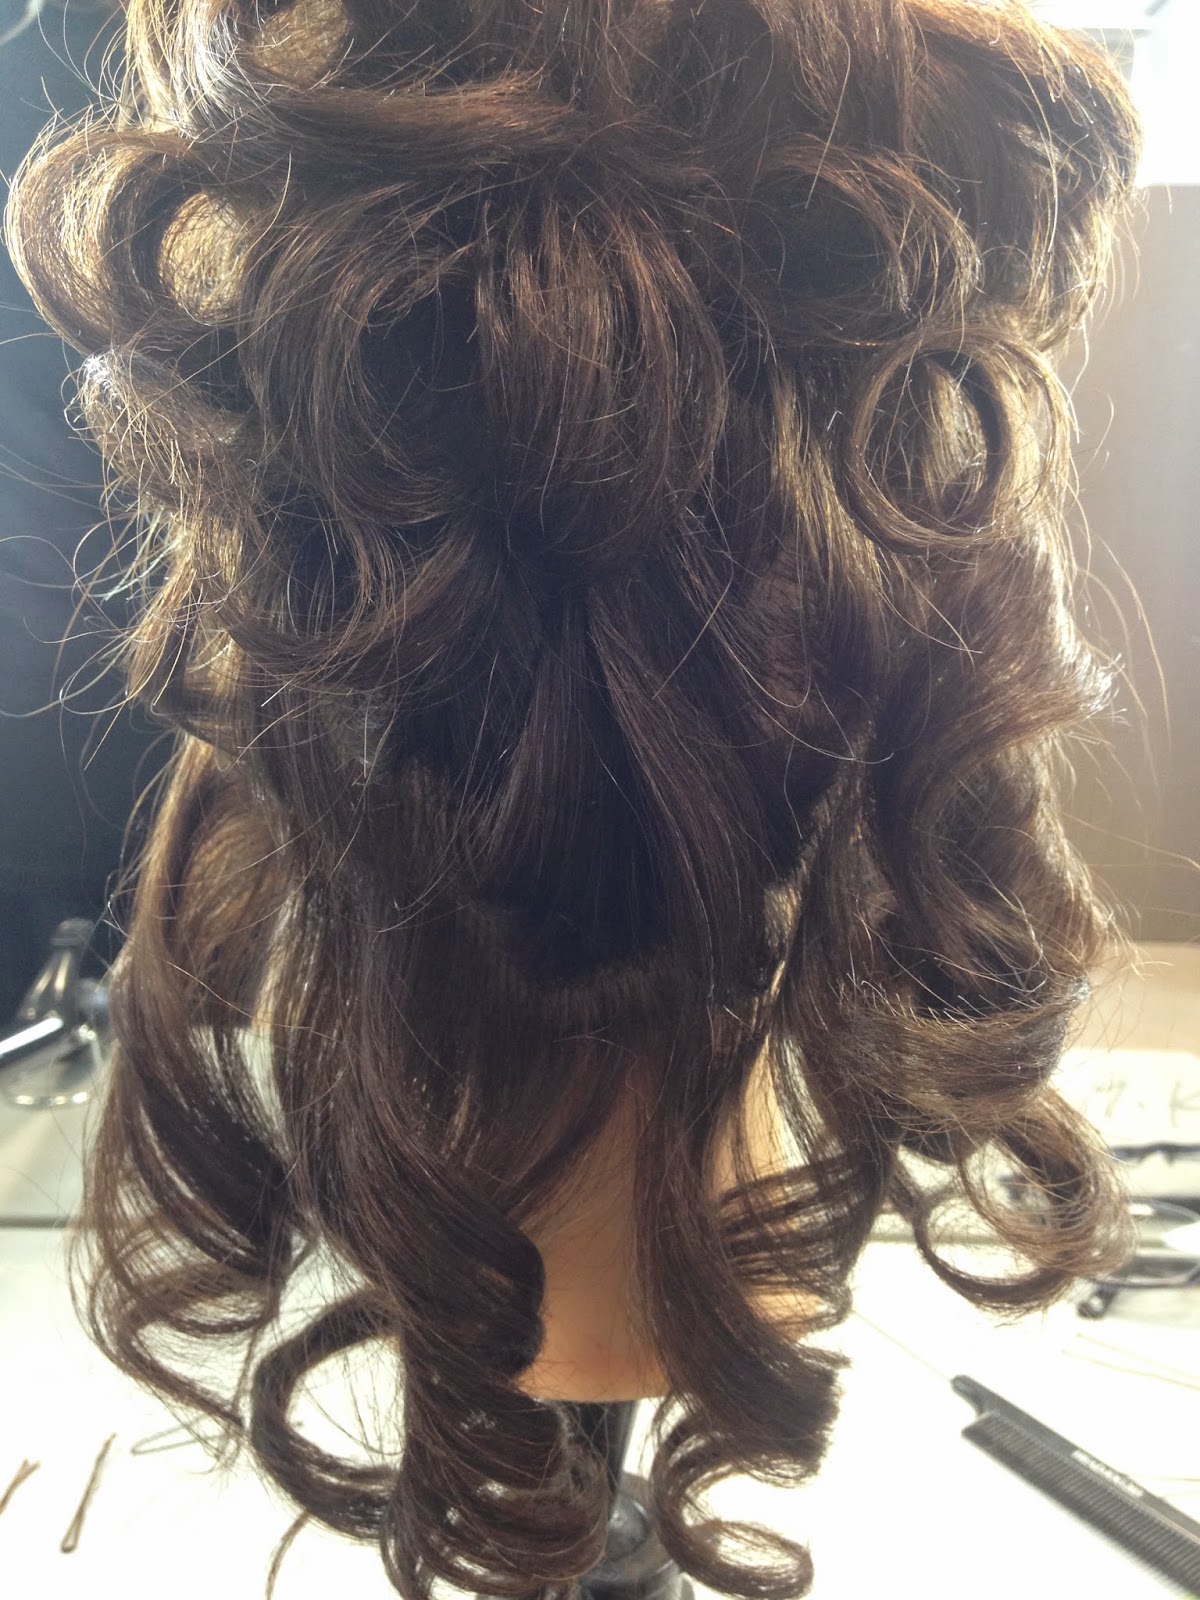
For late Victorian hairstyles the curls moved towards the back, they may have used a little bit of padding and little curly fridges came into style. Late Victorians had big fancy hats that were popular and quite elaborate.  It is said that they thought that the longer a women sat having her hair done the better the hair dresser. In 1870 there was height at the sides and the top and curls coming down the back, they used flowers as decoration. Towards the late Victorian era we see things like the Marcel wave and the Apollo knot/bun hairstyle. In great expectations as Estella gets older we see the different hairstyles, as she get older her hair gets more romantic, with looser curls and a slightly off parting. 

In class we created our own version of late Victorian hairstyle, a step by step guide of how we did this is shown below:
Step by step creating late Victorian Hairstyles:
·         Section the hair for a middle parting.
·         Then section a front part of the hair from a middle part to create a bun.
·         With the middle section of hair put into a pony and curl, then curl the curls round and make a sort of bun, making sure to not make a typical round style and allowing some of the curls to look slightly messy
·         With the bottom section of hair also curl using curling tong, pin some of these curls up to the bun section but leave some to hang loose.
·         With the front section of hair curl away from the head, then pin away from the face with slight raise, as seen in images below. 


Monday, 2 February 2015

Trip to Portsmouth

Throughout last term we were given a few opportunities to volunteer to help at some events. In November there was a Victorian Christmas festival, myself and my friend Sammie both volunteered to help on the job. The whole day kind of gave us an insight as to what it would be like being a makeup artist and working on a set, after a 5am start we got the train to Portsmouth and made our way to the theatre. When we arrived we were given some facecharts to take inspiration from when doing the makeup on the actors which really helped, they ranged from Chimney sweepers, Prostitutes, Mary Poppins Characters and Oliver Characters, even having to do a black eye patch on Bill Syke’s dog. We were told that we were to makeup around 125 actors of lots of different age groups each with different roles in the production.

Thrown right into the task, we set up our makeup kits and got straight to work, the first look we did was a ‘suffragette’ look, for this we kept the makeup as simple as possible, having a light base and then just some blush on the cheeks and a little bit of gloss on the lips.


The next look we did was a prostitute, for this we applied a foundation to get full coverage, using the Kyrolan palette, then heavy pink blush on the cheeks also Kyrolan blush palette. Then a dark pink lip and a dark beauty mark on one of the cheeks. To finish off powdered using Illamasqua loose powder.


Lastly was a ‘chimney sweepers’ look, for this we couldn’t really go wrong; on the facechart it just had bits of ‘dirt’ all over the face and we were told that it didn’t need to be neat just to make it look at real as possible. For this we used a beauty blender and the Supra colour in black and just dapped it around the face, also using a bit of black eye shadow to powder it down.